![]()
Curling...Southern California Style
![]()
DIY Curling Shoes
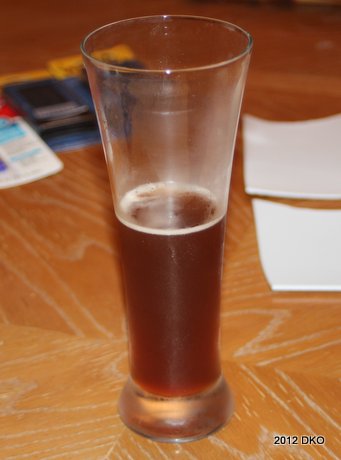
The best way we found to start our night of shoe construction was to start with a Homebrew Dwight had just made. This was an ice-cold, Raspberry Lager.
![]()
Curling...Southern California Style
![]()
DIY Curling Shoes
The best way we found to start our night of shoe construction was to start with a Homebrew Dwight had just made. This was an ice-cold, Raspberry Lager.
UPDATE 1/11/2014
We've been getting some awesome letters and it seems we're having mail problems trying to reply so I'll answer some of the questions here until mail gets working again. The reason we went with velcro is that we figured we could easily upgrade to a thicker Teflon once we got more comfortable on the ice. In hindsight, I wish I would have started on 1/4" as it wasn't that much scarier and in fact, my delivery and balance improved immediately.
Another question was from Potomac. If you're right-handed, your teflon will go on your left show and you'll need to buy a removable gripper to wear over the teflon anytime you're not delivering a stone. Wait until you get comfortable on the ice before you start trying to do other things rather than delivering. The teflon will not be removed regularly. We just made it that way so we could upgrade at a later date and not tear up our shoes (if we had glued the teflon straight to the bottom of the shoe). The guys that are still using the shoes we made that first fateful night are holding up great and I think the most important factor was the clamp and glue setup.
We've found that removable grippers vary from manufacturer to manufacturer. You want it to fit snugger than looser as things really get dangerous when the gripper is too loose on your slider foot. If you can try it on your shoe in-person, that's a great way to do it. Luckily, Debbie McCormick sells Goldline stuff when she's on the road and we were able to see stuff in person on the west coast at the Crush Bonspiel.
Dwight has since upgraded to Olson Ole shoes with a 1/4" slider and he really loves those shoes.
Step One
We did some research and decided on the materials we'd need for this project. The shopping list was:
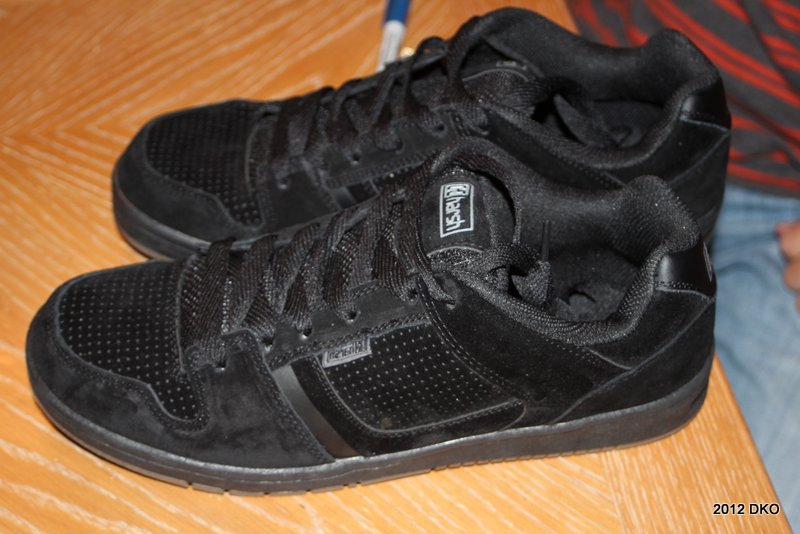
Shoes (our criteria was anything with a flat bottom)
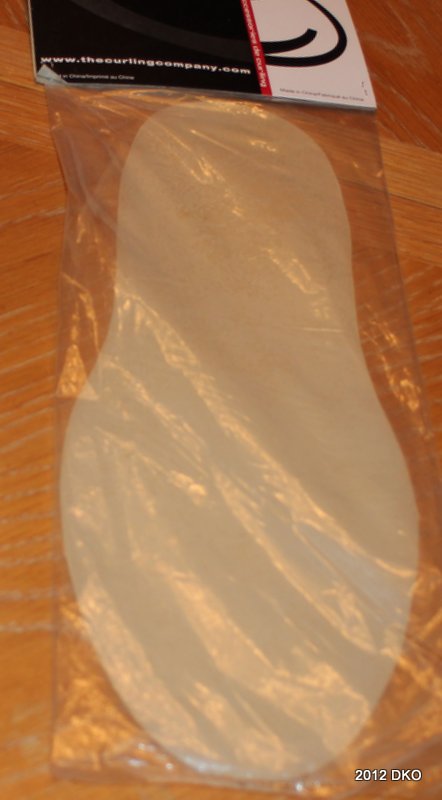
Teflon material (3/32" thickness) ordered from Steve's Curling Supplies
Gripper Material ordered from Steve's Curling Supplies
Glue/Adhesive

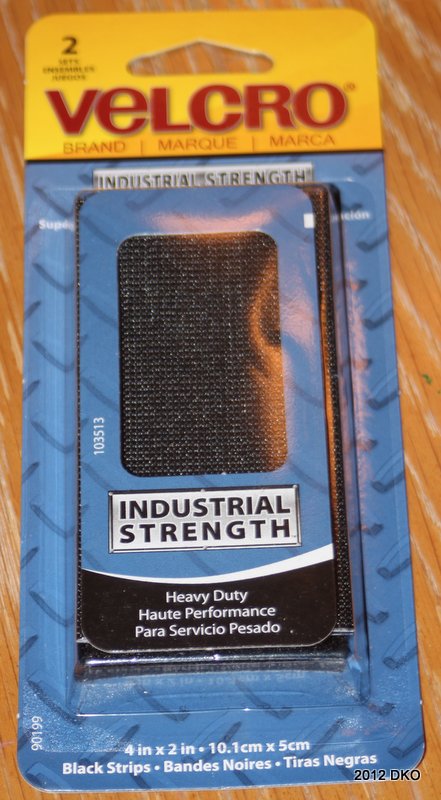
Velcro
Miscellaneous Stuff
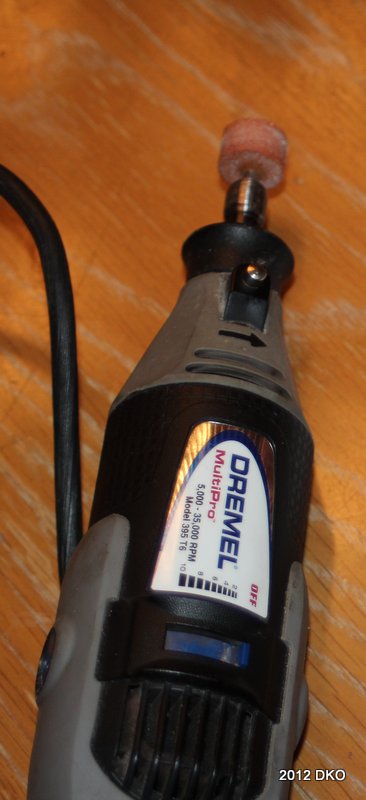
A Dremel tool, Utility Scissors, a Sharpie, and Wood Clamps.
Step Two
After you've gathered all the ingredients, you'll find that it's pretty self explanatory. There are a couple of things to consider.
- Use the old woodworking adage "Measure Twice & Cut Once"
- Make sure you know which shoe the slider will go on and which show the gripper material will go on
- When lining up Teflon and Gripper materials, verify that the correct side will be facing the ice when you're all finished
Step Three
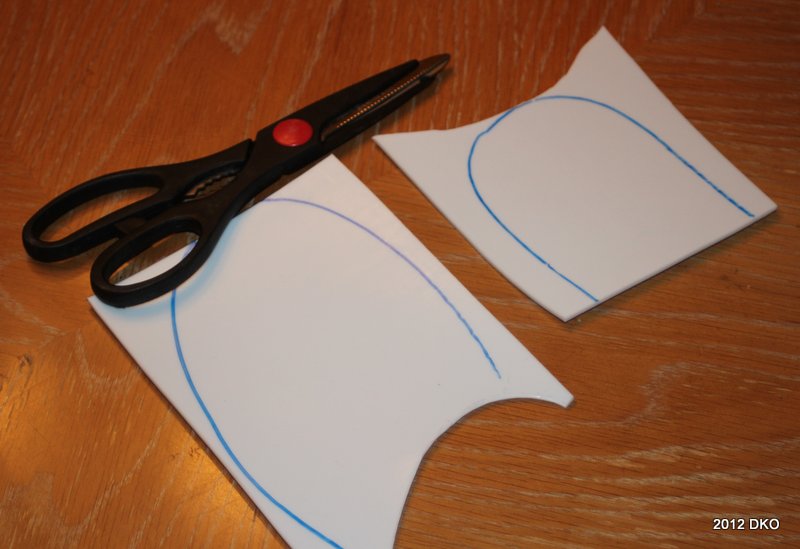
- Using your shoe as a guide, trace the cut-out shapes for the Teflon
- Cut out the Teflon shapes using utility scissors
- Using a Dremel tool, put a nice bevel on the Teflon edges and be certain to wear eye protection and a dust mask
- Cut out gripper material using your shoe to trace the shape. This is much easier to cut and you won't need to bevel the gripper material
Step Four
- Arrange velcro so you have good coverage on Teflon cut-outs. Do NOT stick it down yet...keep protective film intact. We attached the prickly side of the velcro to the Teflon but that is your choice
- We found that gluing the Gripper material directly to the shoe bottom (not using velcro) was best for that shoe and it made the height difference of the Slider shoe much closer
- Apply glue to shoe bottom and Gripper material. Position and set aside
- Stick both faces of the velcro together then peel film off on one side. Apply glue to both shoe bottom and sticky velcro. Repeat for the flip-side. Assemble Teflon/Velcro sandwich to bottom of shoe
Step Five
- Now that you have all the pieces glued, you're going to need to clamp them to make sure you get good adherence
- We used wood clamps and scraps of wood to clamp each shoe to a workbench top
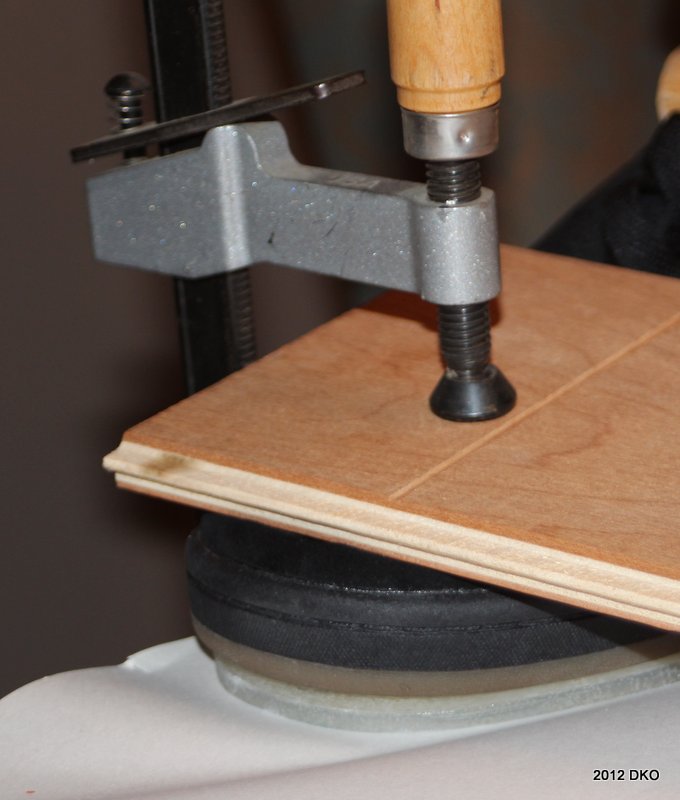
- Let the glue dry for 24 hours
- Make sure you have nice, even pressure applied during clamping so all areas of shoe will be stable
If you have any questions, please send e-mail to info@8bitsliders.com
G O O D - L U C K!
![]()
curling 8 bit sliders sliders gripper pebble free guard zone broom sweeping bonspiel hammer whisky single malt